- Model: VK-TFS-002U
- Power Supply: 220V/50HZ/Single phase
- Power: 1500w
- Frequency: 20Khz
- Tube Length: 40-280mm
- Tube Diameter: 10-80mm
- Filling volume: A: 5-30ml B: 6-60ml C: 10-120ml D: 25-250ml E: 50-500ml (Optional)
- Size: 735*670*1300mm
- Weight: 130kg
View Video
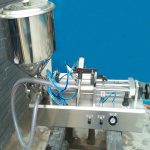
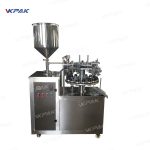
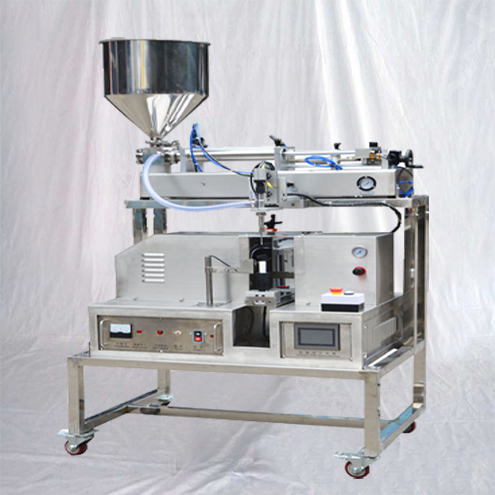
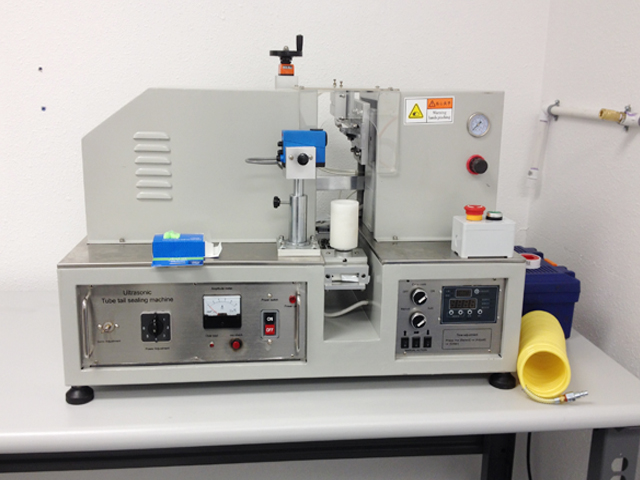
Function And Application
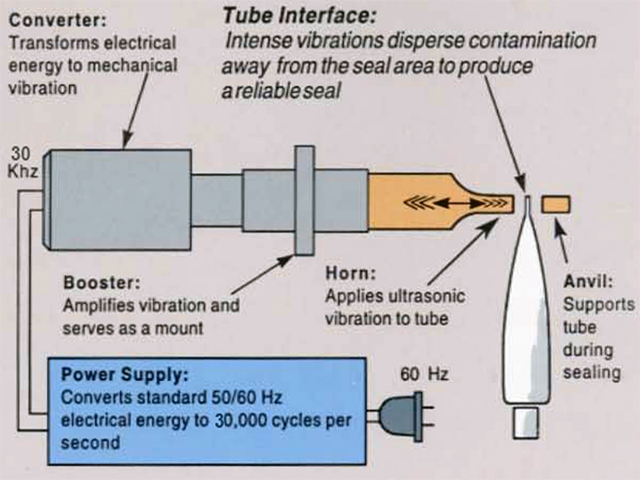
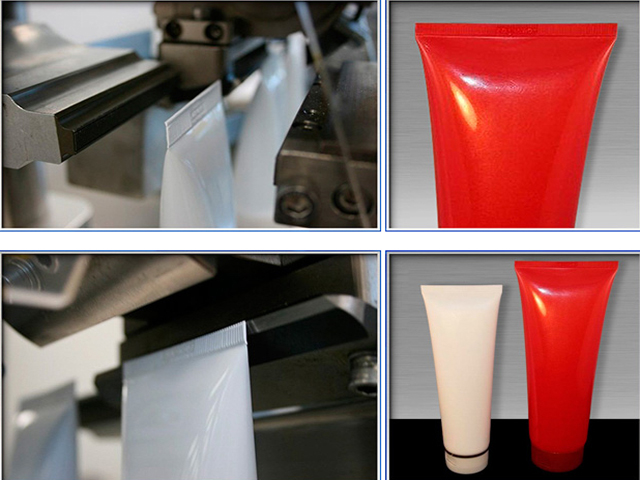
Use ultrasonic to weld plastic soft tube tail. Do not need any adhesive or filler or solvent when welding, do not consume large amounts of heat, and easy to operate, high welding speed, high efficiency.
This machine is widely used in toothpaste, cosmetic, medical product, food and industrial tubes etc.
Main Parameters
| Model | VK-TFS-002U |
| Power Supply | 220V/50HZ/Single phase |
| Power | 1500w |
| Frequency | 20Khz |
| Tube Length | 40-280mm |
| Tube Diameter | 10-80mm |
| Filling volume | A:5-30ml B: 6-60ml C: 10-120ml D: 25-250ml E: 50-500ml (Optional) |
| Size | 735*6701300mm |
| Weight | 130kg |
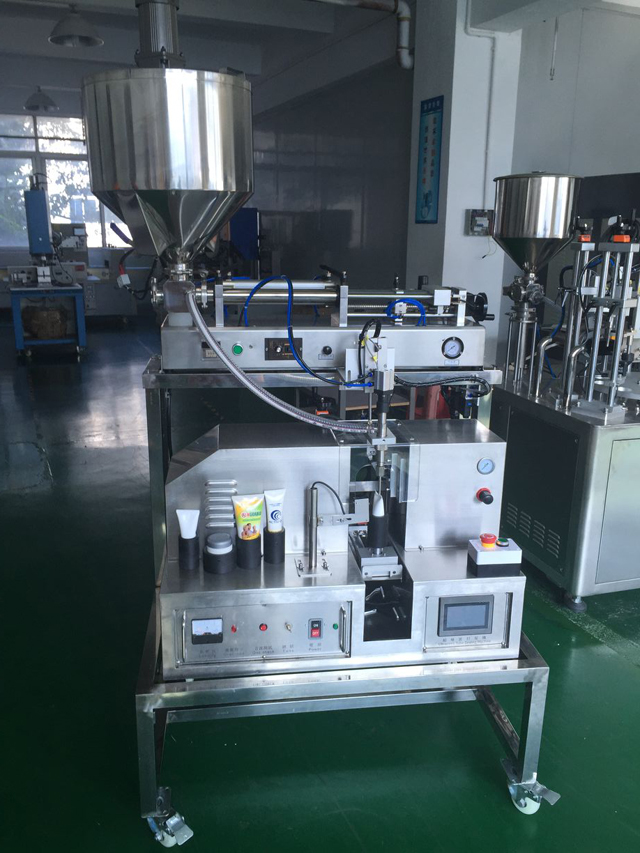
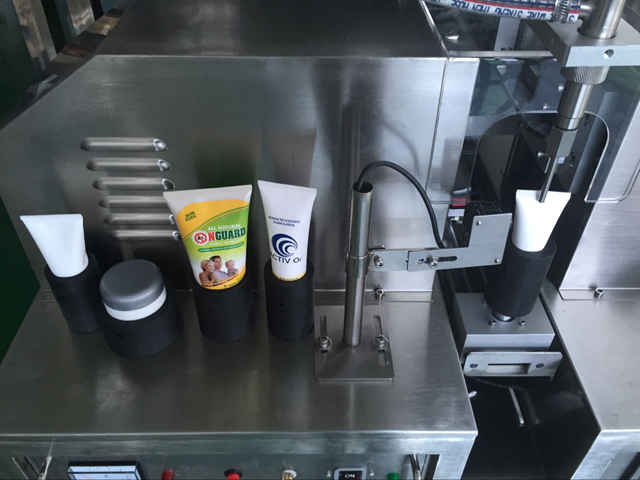
Sealing Machine Layout

- Main body
- Sensor
- Tube Hight adjustment
- Front mould
- Back mould
- Cutter
- Gas-pressure meter
- Gas-pressure adjustment
- Emergency button
- Start button
- PLC
- Holder
- Moulds gap adjustment
- Power lamp
- Power switch
- Tune
- OSC check
- Over load lamp
- Loading meter
(Remark: Pls checking the Front mould Screw if with strong lock, as afraid when the transportation and screw is loose)
Sealing Part
- Motor start: this is for control the Tube holder running
- Feeding cylinder start: this is for control the Tube holder feeding
- Ultrasonic cylinder start: this is for control the up mould and down mould working.
- Trimming cylinder start: this is for control the cutter
- Fill Cylinder: This is for control the Filler head cylinder star or Stop when manual
- Fill start: This is for control the filling star or stop when manual
- Ultrasonic start: This is for control the frequency, this is same as the “18. OSC check”
- Tube Orientation on: this is for control the Sense off/on
- Time setting: This is for Adjusting the Delay time/ Welding time/Holding time
- Delay time: 0.80
- Welding time: Tube Dia 20, the time will about: 0.20, Tube dia 30, the time will about 0.40, Tube dia 40, the time will about 0.50, Tube dia 50, the time will about 0.7
- Holding time: 0.35
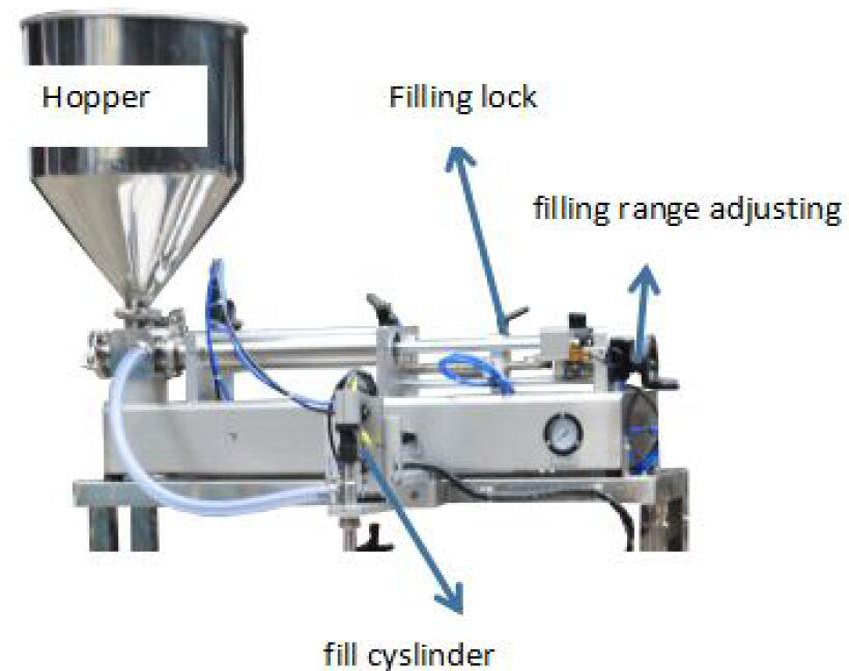
Filling Part
Operation Process
- Connect power and compressed air correctly (suggest 0.5MPa).
- Press the Power switch
- Press ‘OSC check’ button and set ‘Tune button’ at the same time, Pls using the screw on the Tune button, you can turn to Left or Right, while find the minimum of ‘Signal light’ (it will about low than 1A) fixed ‘Frequency adjustment’. (do not press ‘OSC check’ continuously, press it intermittently)
- Put tube on the holder.
- Press ‘Ultrasonic cylinder start’, front mould and back mould will be closed. set ‘Moulds gap adjustment’, let two moulds just touch and no gap. Press ‘Cutter controller’ and confirm the cutter will work smoothly.(need to put the plastic tube on the tube holder when you adjusting)
- Set front mould and back mould and cutter at original position.
- Put tube on the ‘Holder’ and press ‘Feeding cylinder start’, the tube will run between two moulds. Adjust the height of holder if necessary. (suggest tube is higher than back mould 2 to 3 mm)
- Make tube back to original position.
- Set to auto status, turn on sensor if tube has color code otherwise turn off it.
- Press ‘Auto’ the machine will work automatically.
Samples


Failure and Remedy
| Failure | Cause | Remedy |
| Machine doesn’t work or work abnormal | No power or compressed air | Connect power and compressed air |
| Low compressed air pressure | Enhance air pressure | |
| Plastic overflow or not good after welding | Two moulds too closed or too parted | Adjust the gap between two moulds |
| Rough edge after cutting | Cutter blunt | Sharpen cutter or replace sharp one |
| Cutter has large gap between back mould | Make cutter touch back mould |
You May Like
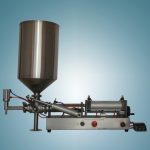
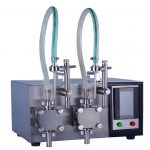
 Semi Automatic Portable Pneumatic Viscosity Food Sauce Filling Machine
- Collapsible Aluminum Metal Tubes Filling Sealing Machines Semi Automatic
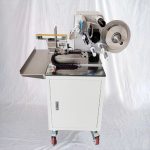
- Semi Automatic Flag Label Applicator For Dog Bone Pet Food Packaging
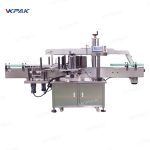
- Double Side Sticker Labeling Equipment For Plastic Glass Bottles
- High Viscosity Peanut Butter Honey Filling Machine With Pressurized Hopper
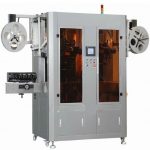
- Automatic Double Heads Cups Drinking Bottles Sleeve Labeling Machine
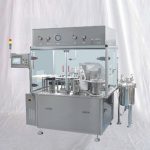
- Pharmaceutical Syringes Gel Liquid Filling Plugging Sealing Machine
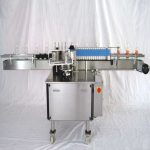
- Linear Round Glass Plastic Bottles Cold Paste Wet Glue Labeling Machine
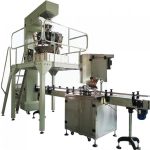
- Granule Particle Can Filling Sealing Machine Automatic Multi Heads Scales
- Semi Automatic Gear Pump Pharmaceutical Liquid Filling Machine